This Free/Busy Admin Guide explains how to configure the Cloudiway platform to perform calendar availability requests between your tenants.
This article explains in details the various features and functionalities.
Navigate to the FreeBusy interface.

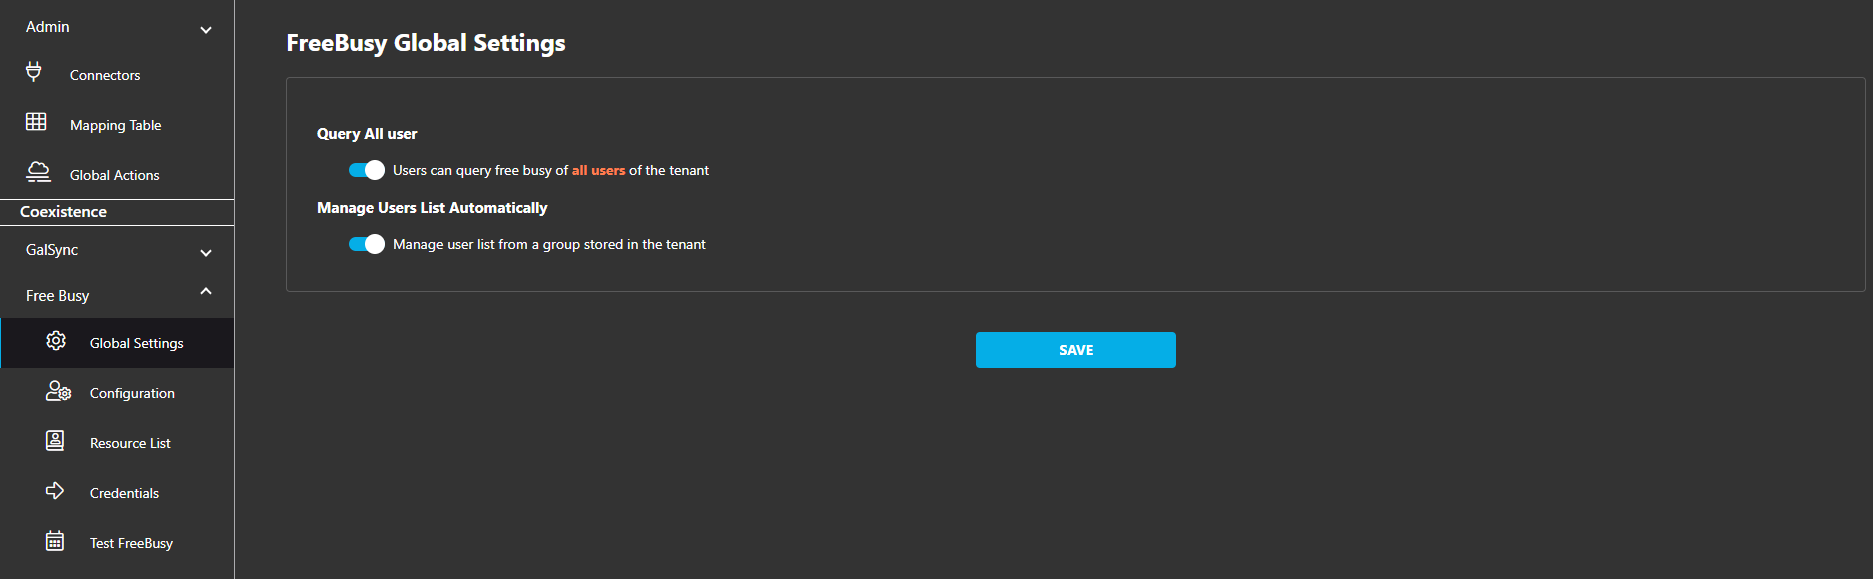
Free Busy Global Settings
Query All Users
If enabled: Users can query free busy of all users of the tenant
If Disabled: Users can query free busy of only the users of the list
Manage Users List Automatically
If enabled: You can Manage a user list from a group stored in the tenant
If Disabled: You can Manage a user list from the Cloudiway portal (manually create, upload csv, rest api)
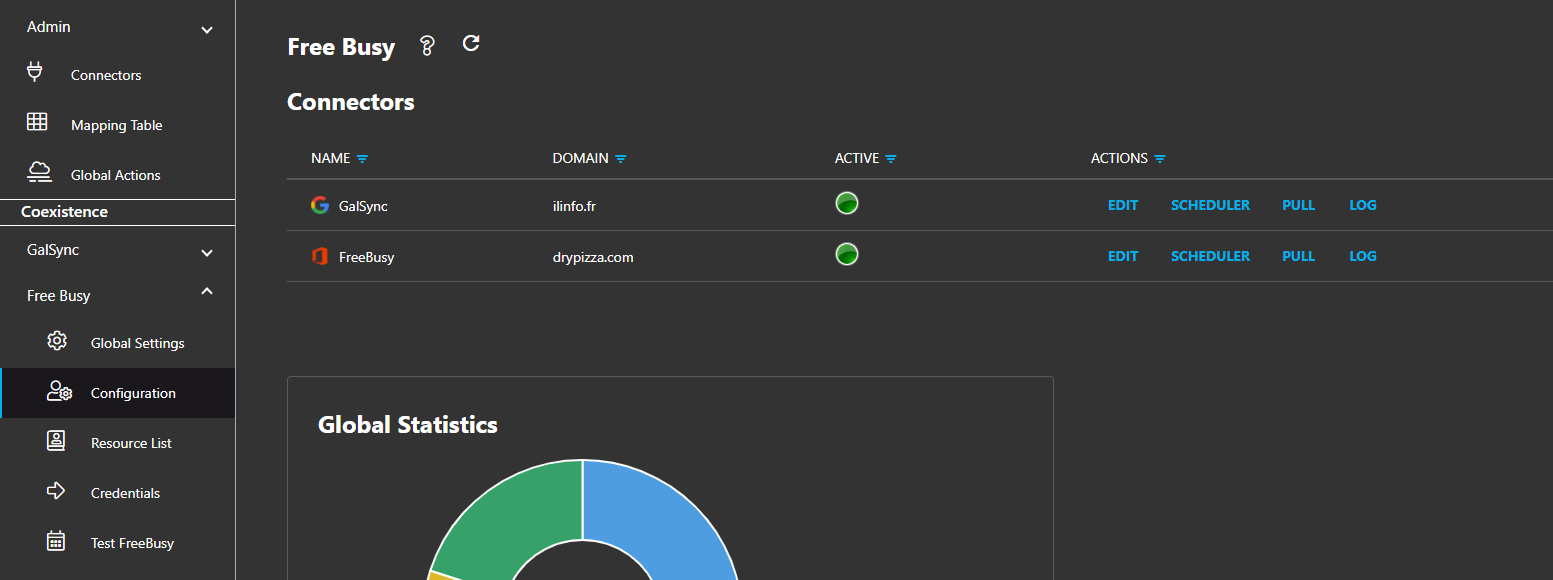
Free Busy Configuration
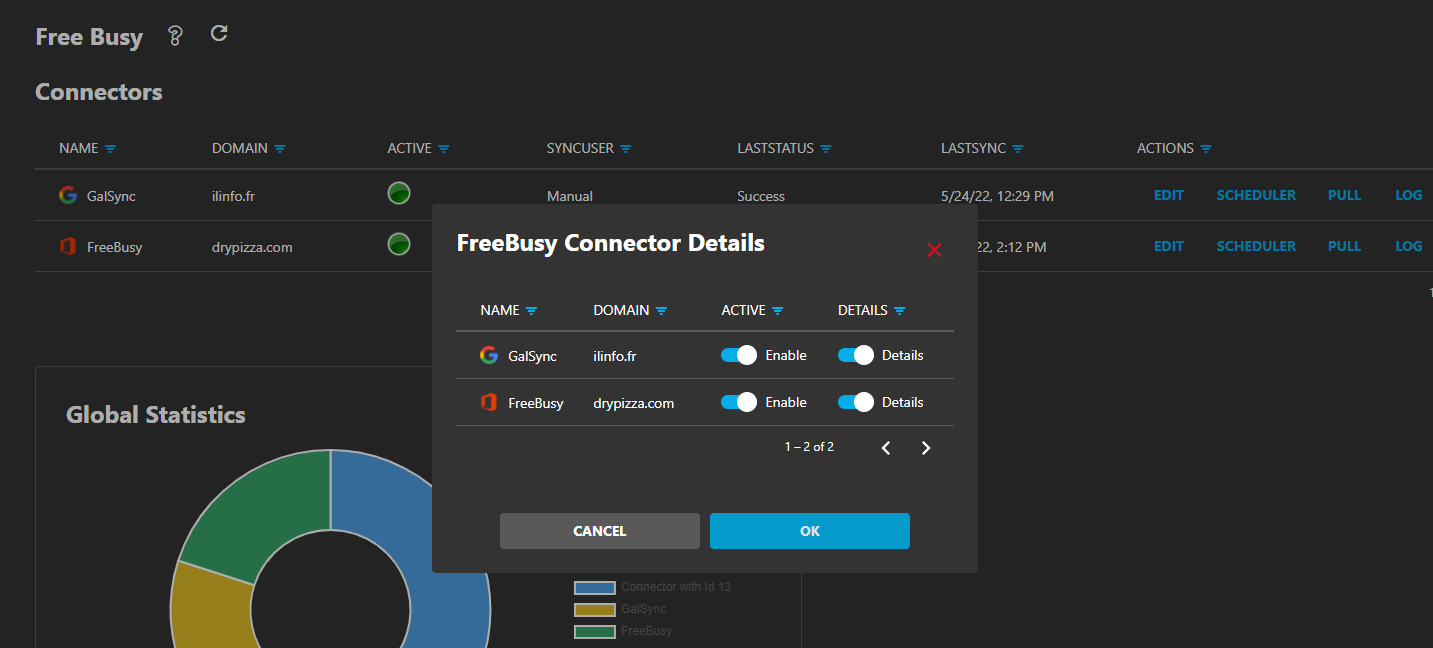
Within the “Configuration” menu, click on the “EDIT” button available in the connectors list.
In the popup:
Enable or Disable the connector.
Enable or Disable the Lookup details: If Details is off, Cloudiway will only return if user is available or not, but without any details
Free Busy Scheduler
If you manage the list of users allowed to use the freebusy solution from a Group, you need to setup how frequently you wish to refresh the user list defined in the group.
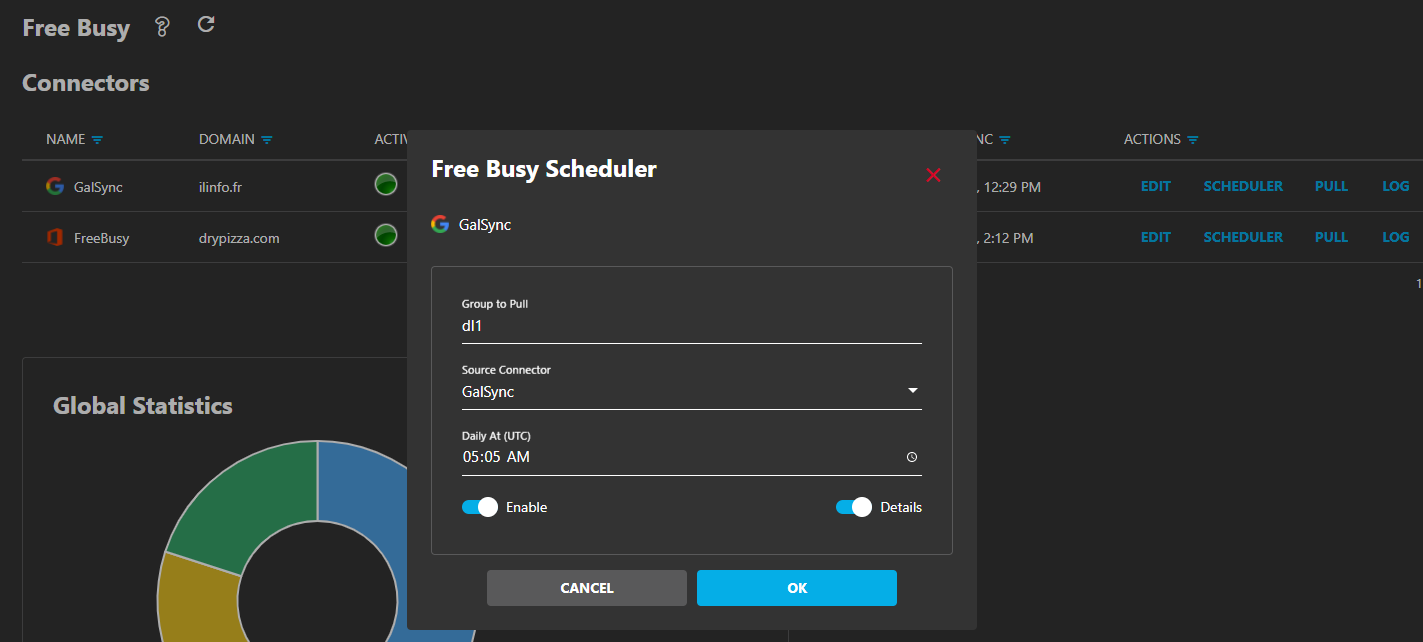
PULL:
Pull the group membership manually
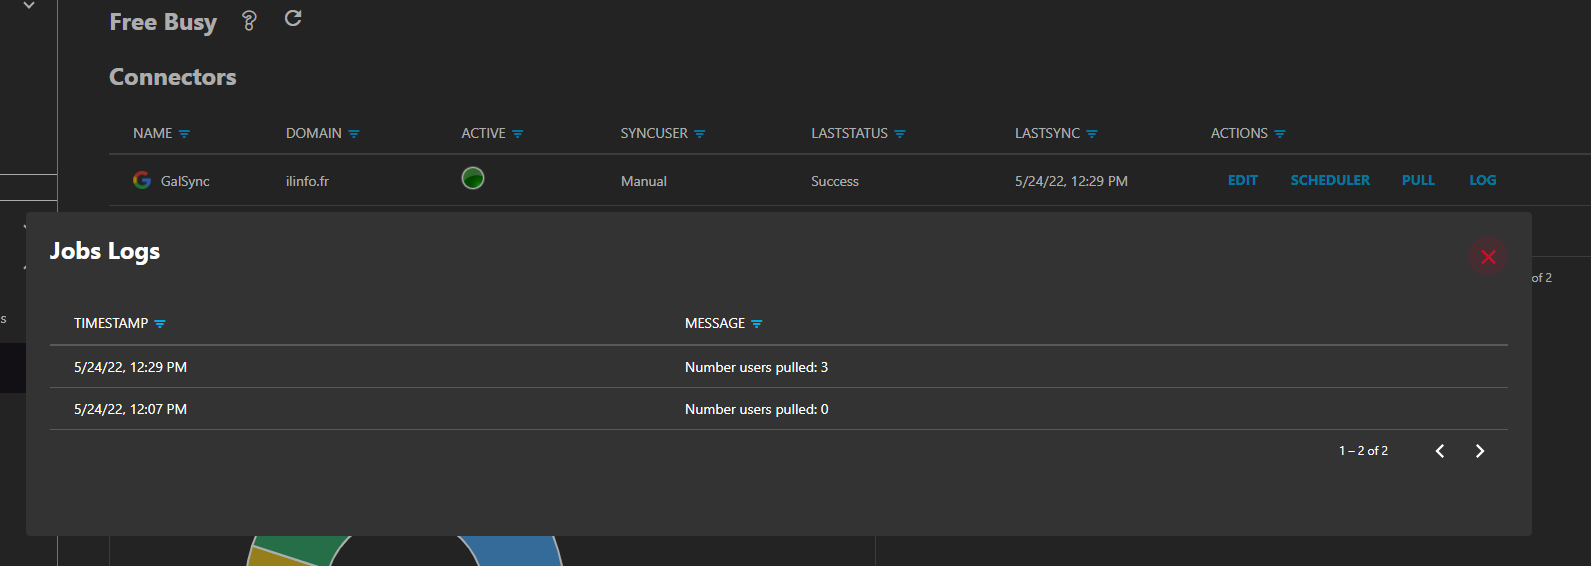
LOG:
Displays the logs of the pulling process. Useful if you are hitting any error.
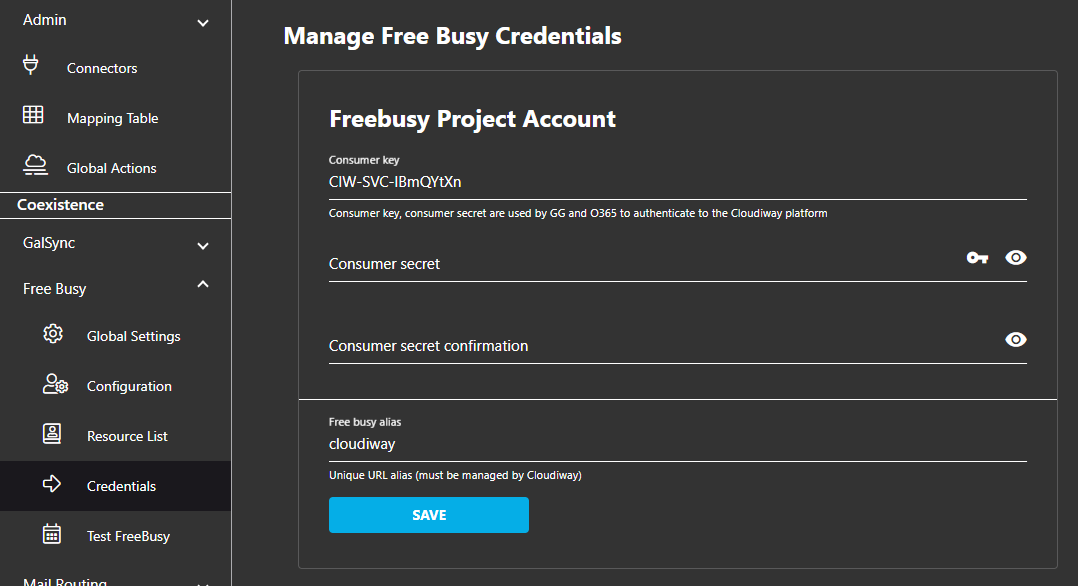
Credentials:
Key icon: This can be used to generate a strong password
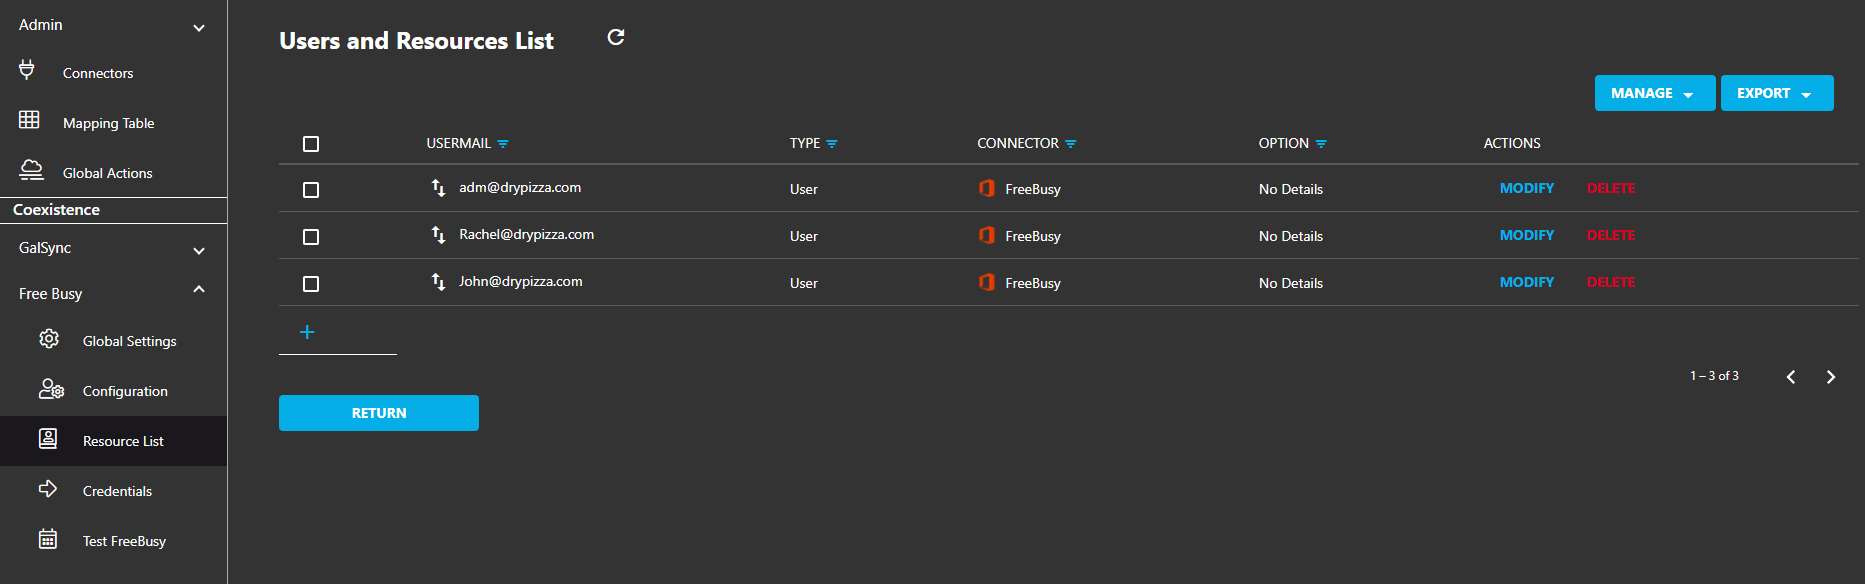
Users and Resources List:
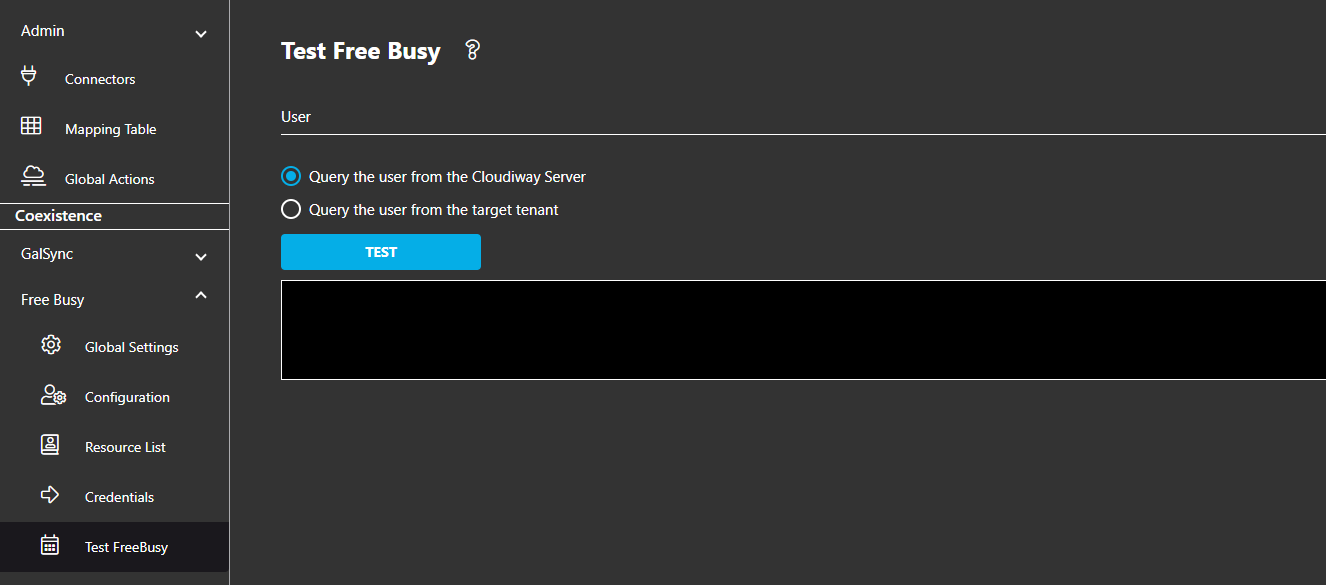
Test Free Busy
Can be used to Test Free Busy in two ways:
A) Query the user from the Cloudiway Server
B) Query the user from the Target Tenant