Overview
The Microsoft 365 connector enables Cloudiway to access your Office 365 tenant for migration, coexistence, and synchronization operations. This guide covers both automatic and manual configuration methods.
Connector Capabilities
- Email migration (Exchange Online)
- File migration (OneDrive/SharePoint)
- Teams migration
- GAL synchronization
- Free/Busy coexistence
- Mail routing
Configuration Methods
Cloudiway offers two ways to configure your Microsoft 365 connector:
Automatic Configuration (Recommended)
The automatic method is the fastest way to set up your connector. It uses Global Administrator credentials to:
- Automatically retrieve tenant information
- Create the required Azure AD application
- Configure all necessary API permissions
- Grant admin consent
- Log in to the Cloudiway Portal
- Navigate to Connectors → Add Connector
- Select Microsoft 365
- Choose Automatic Configuration
- Click Sign in with Microsoft
- Authenticate with a Global Administrator account
- Review and accept the permissions
- The connector is automatically configured
Credential Security
Manual Configuration
Manual configuration provides more control and is required when:
- Security policies prevent automatic app registration
- You need specific permission configurations
- Working with government or specialized cloud environments
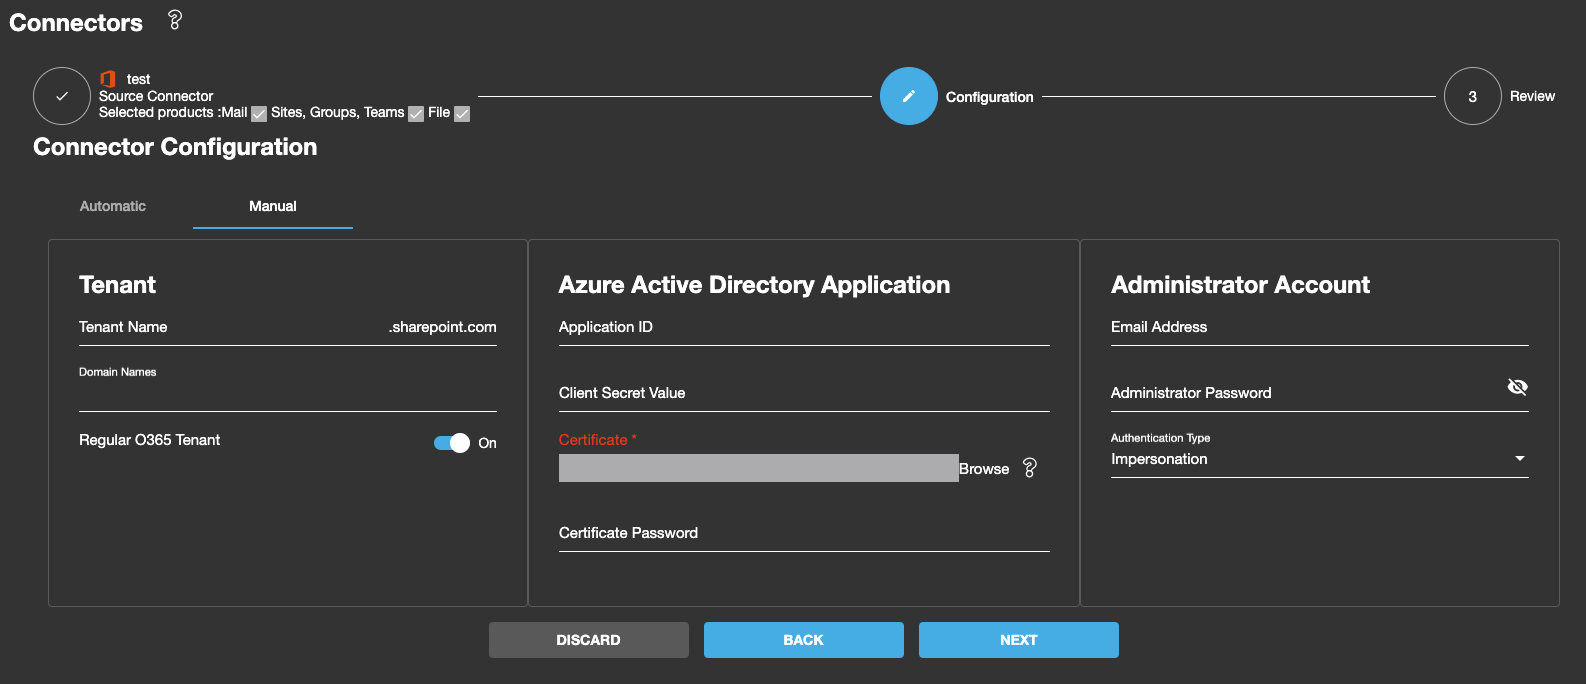
Tenant Settings
For manual configuration, you'll need to provide the following tenant information:
Tenant Name
Your tenant name is used to generate service URLs:
- OneDrive: https://tenantname-my.sharepoint.com
- SharePoint: https://tenantname.sharepoint.com
Server Region
Select the appropriate cloud environment:
- Public - Standard Microsoft 365 (default)
- US Government - GCC, GCC High, DoD
- China - 21Vianet operated
- Germany - German sovereign cloud
Domain Names
Domain requirements vary by product:
- Files & Sites: Default tenant domain
- GALSync: List of all domains to synchronize
- Free/Busy: Single domain per connector
Geo Location (Optional)
If your tenant uses Multi-Geo capabilities, specify the geo location for File and Site migrations.
Azure AD Application
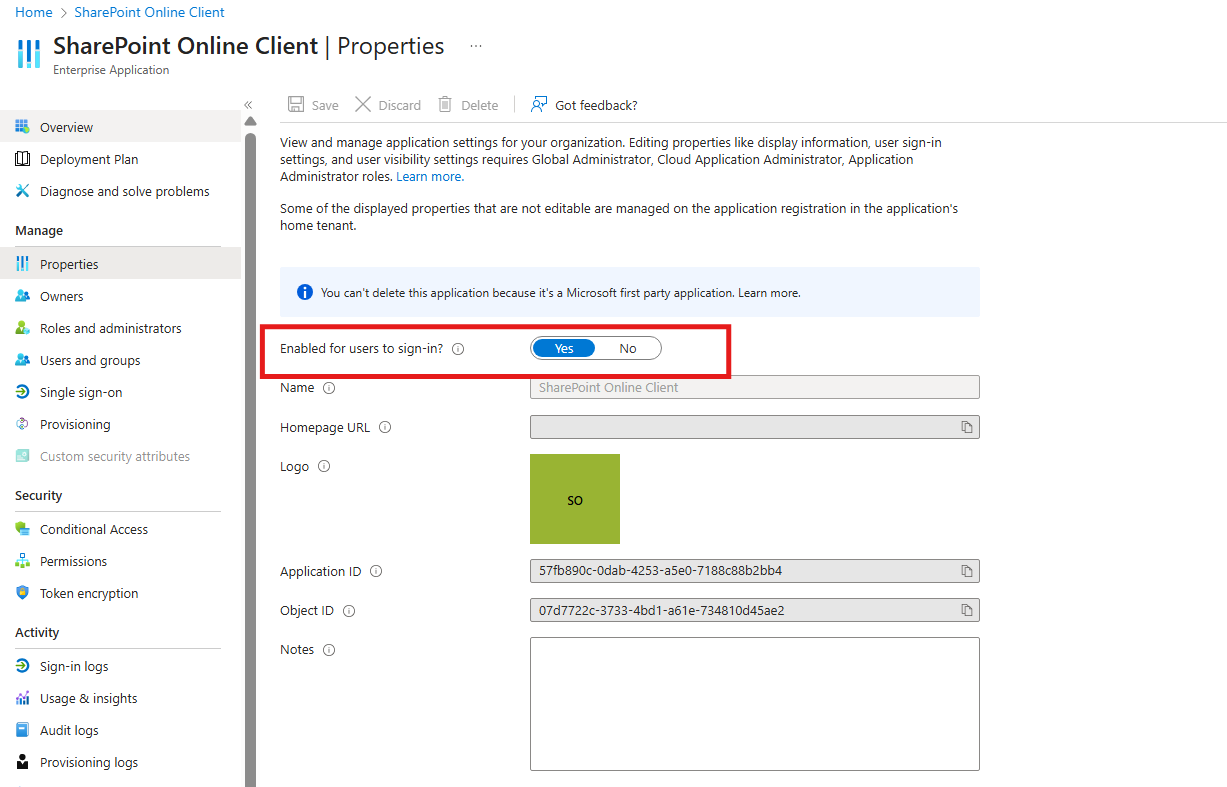
For manual configuration, you must create an Azure AD (EntraID) application and provide its credentials.
Required Information
- Application (Client) ID - Found in the app's Overview page
- Client Secret - Or certificate-based authentication
- Certificate File (.pfx) - If using certificate authentication
- Certificate Password - Password for the .pfx file
Certificate Authentication Recommended
For enhanced security and to avoid password expiration issues, we recommend using certificate-based authentication. See our EntraID Application Guide for detailed instructions.
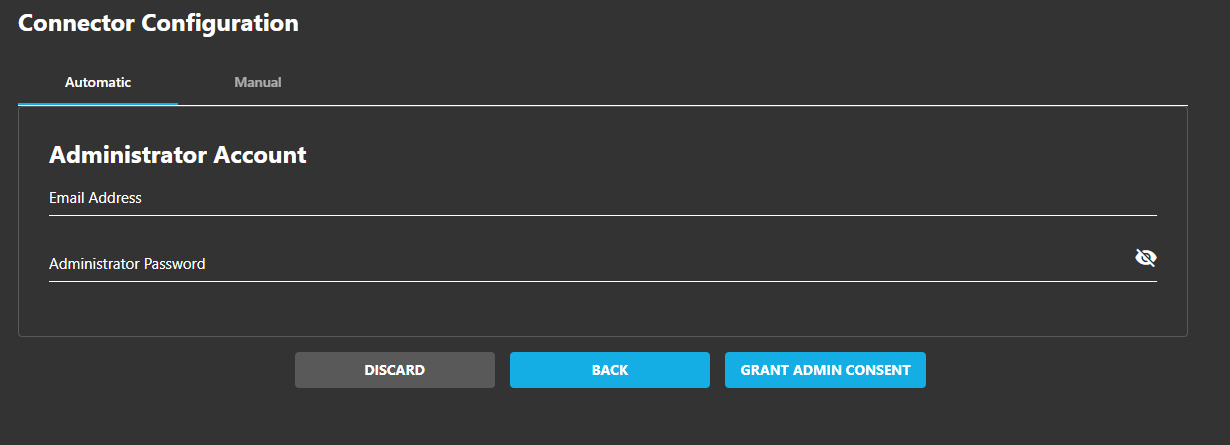
Administrator Account
A dedicated administrator account is required for migration operations. Requirements vary by product:
| Product | Requirements |
|---|---|
| Mail Migration |
|
| Files & Sites |
|
| Teams |
|
| GALSync |
|
MFA Considerations
Dedicated Service Account
- Better security isolation
- Easier audit tracking
- No impact from on-premises changes
Test Connection
After configuring the connector:
- Click Save to store the configuration
- Click Test Connection
- Verify all connection tests pass:
- Authentication test
- API access test
- Permission verification
- If any tests fail, review the error message and adjust settings