This article explains how to configure a GALSync On-Premises Connector to use the Cloudiway coexistence platform for GALSync with On-Premises server.
How do GALSync On-Prem works?
The solution requires an agent running on Premises. The agent is in charge of communicating with the Cloudiway platform.
The Cloudiway platform never tries to connect to your On-Premises environment. Instead, the local agent periodically connects to the platform and checks if a local task has to be executed.
There are two types of tasks:
- Pull job: It extracts the list of users and groups from the local Exchange Directory and uploads the list to the platform.
- Push Job: it retrieves the list of pending changes from the Cloudiway platform and pushes the changes to the local Exchange Directory.
Connector Configuration
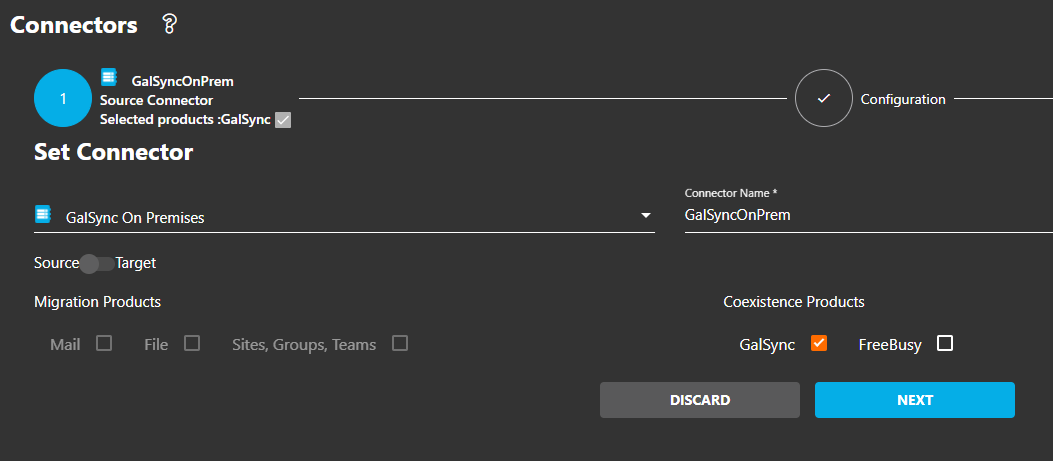
Create a new connector of Type GalSync OnPremises:
In Configuration, enter an alias, enter a name between the “https://” and “coex.cloudiway.com”.
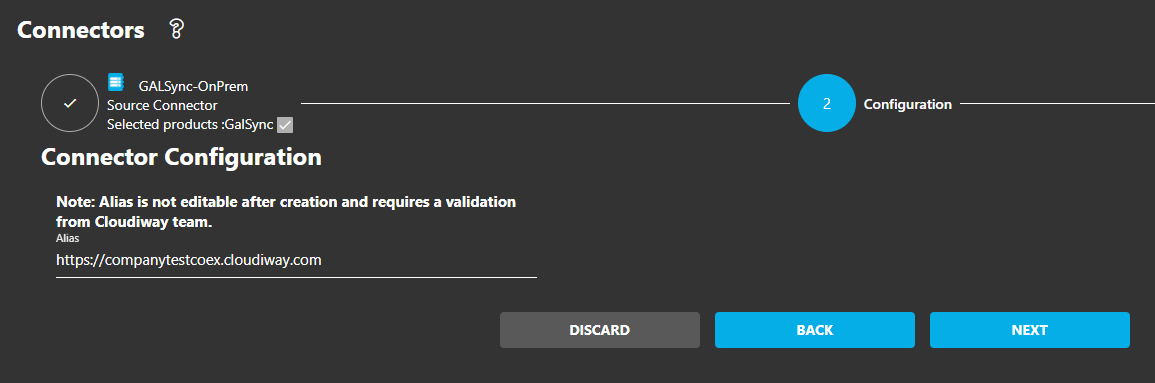
Note: Alias is not editable after creation.
Then click on NEXT then COMPLETE.
Local Agent Installer
Once that the connector is created, click on DOWNLOAD.
![]()
Download the agent and the configuration file.

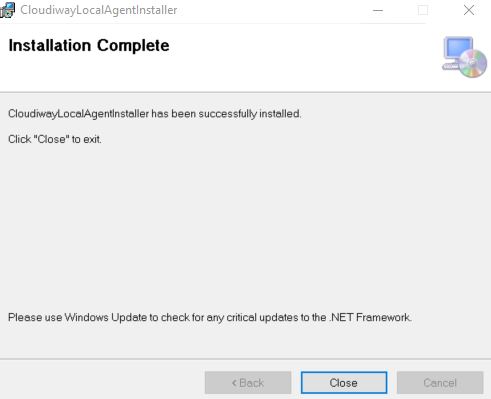
Unzip the file and install the CloudiwayLocalAgentInstaller.msi
Local Configuration And Security Token
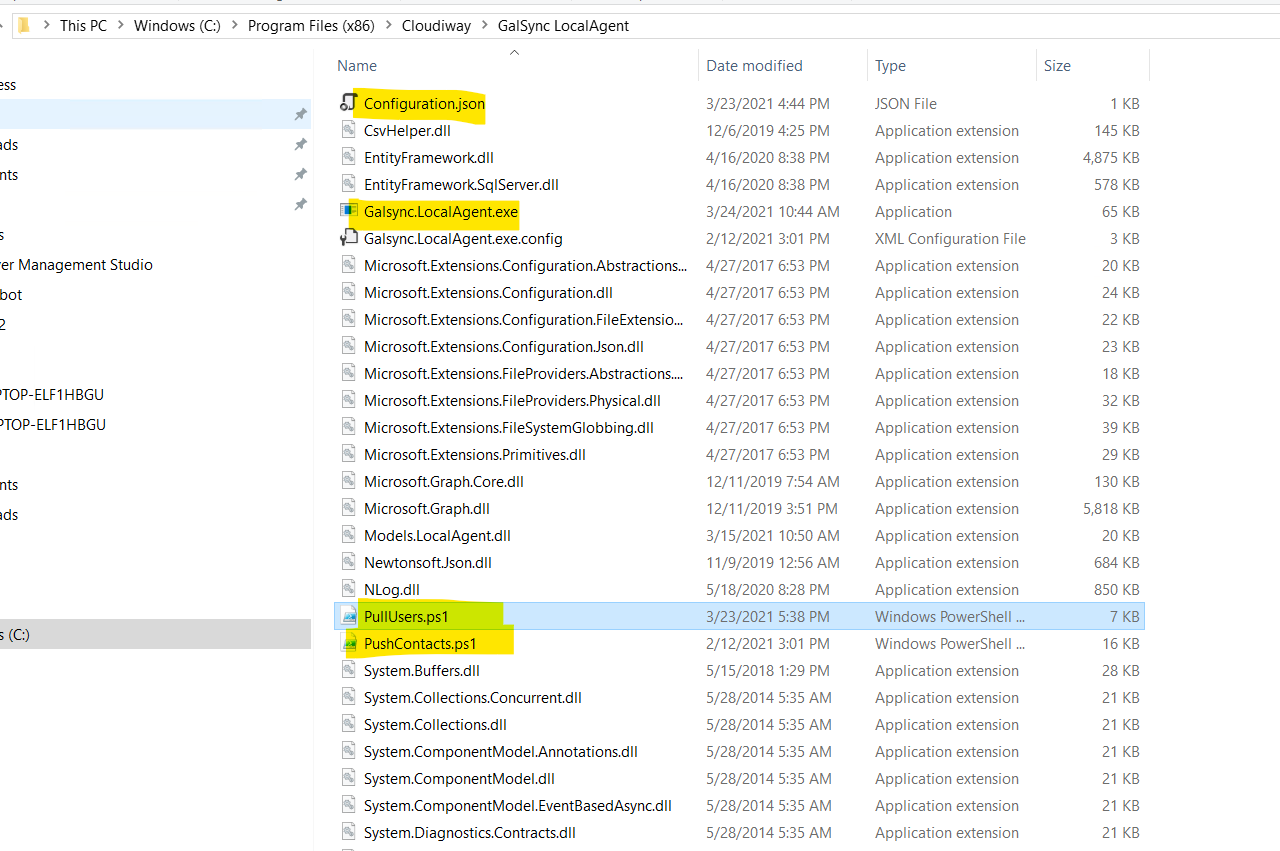
Once you have installed the local agent, you will find an executable in C:\Program Files (x86)\Cloudiway\GalSync LocalAgent.
Make sure to copy the configuration.json file in the local agent freshly installed.
It is a command-line application.
To start it, open a command prompt, navigate to this directory and execute Galsync.LocalAgent.exe
The agent will start, connect to the platform and run a local job if one is scheduled.
When a job is scheduled, it will start a local PowerShell script PullUsers.ps1 or Pushcontacts.ps1
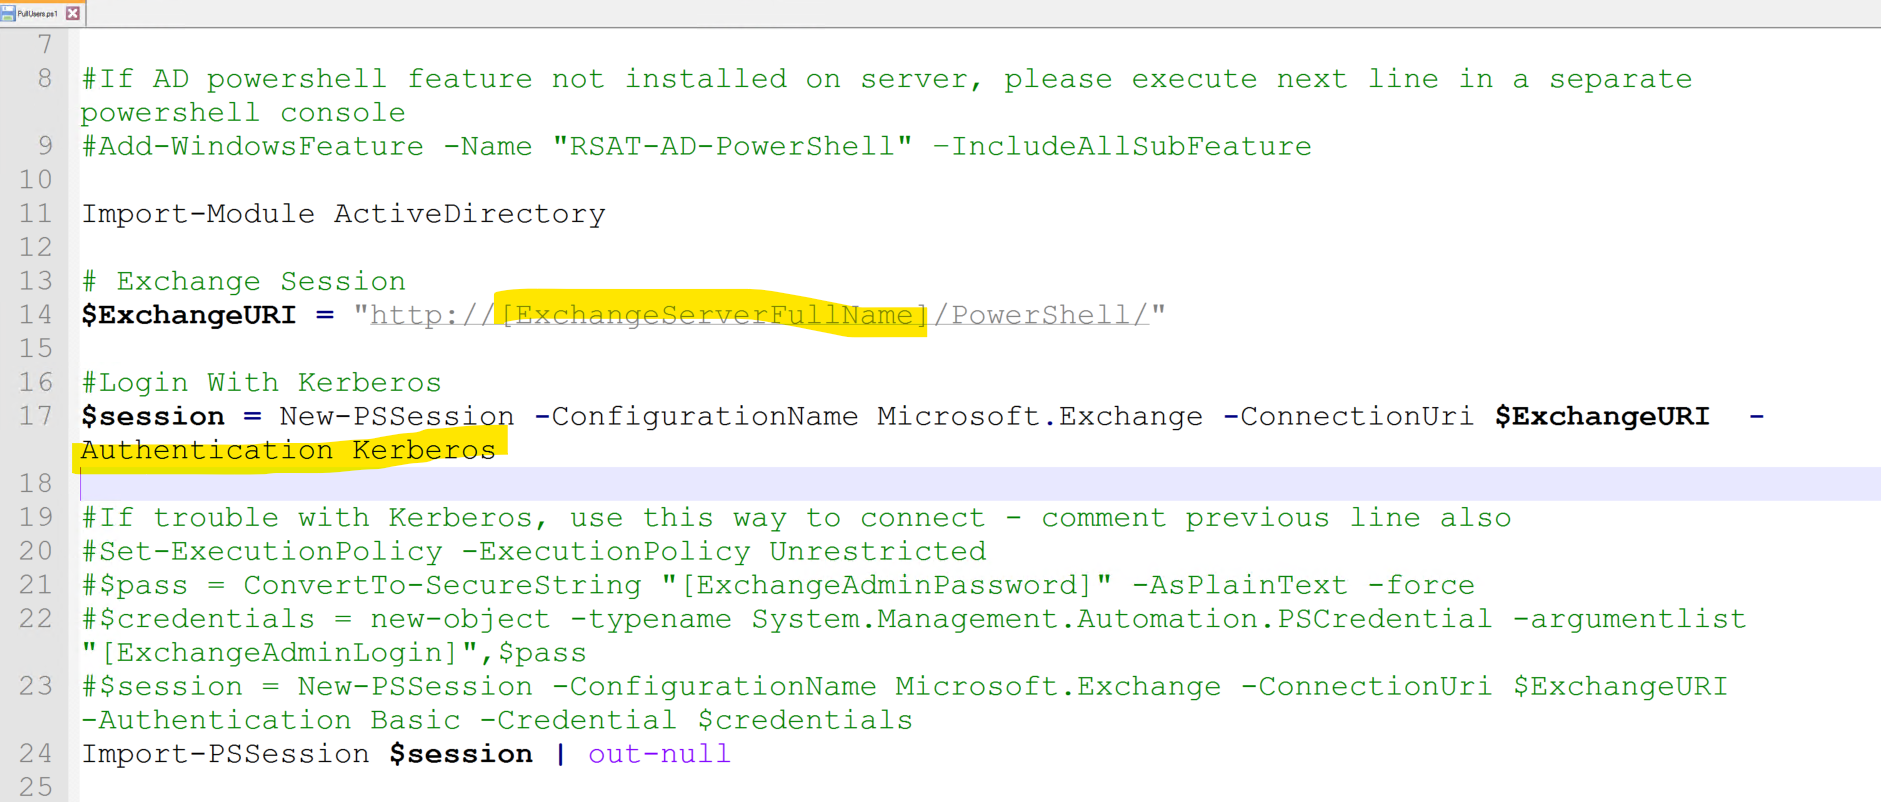
By default, the PowerShell script is using Kerberos authentication. It means that it will connect to Exchange with the identity of the user that started Galsync.LocalAgent.exe
You have the possibility to change this by editing the PowerShell scripts and passing credentials.
Open both PullUsers and PushContacts.ps1 files.
In $ExchangeURI, replace [ExchangeServerFullName] with your server domain.
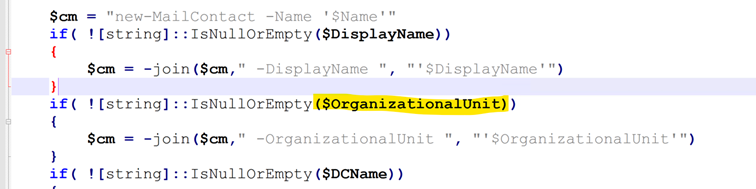
You can safely modify the scripts to fit your needs.
For example, you can change the location where contacts are created by setting a variable named OrganizationalUnit, which must be the Distinguished Name of the OrganizationalUnit.
Finally, open the configuration.json file
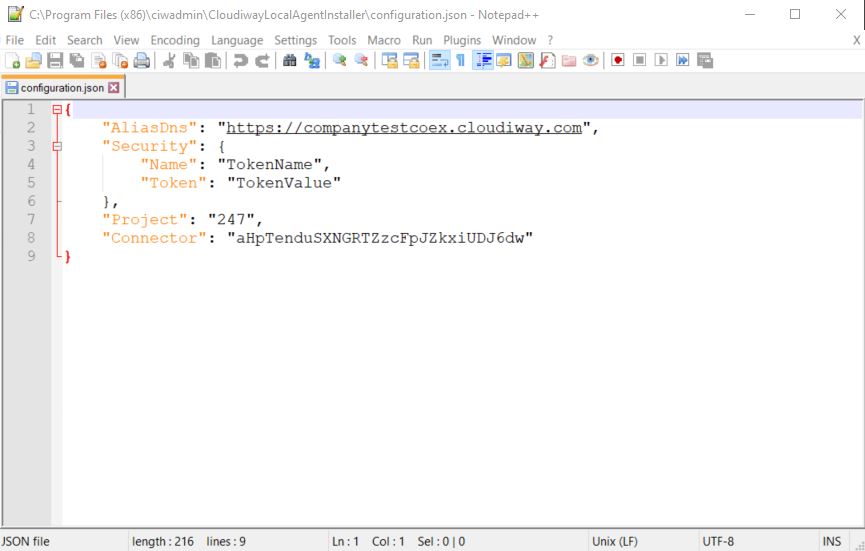
The AliasDns should be the same you entered previously during the connector creation.
In Security, edit the Name and the Token by your security token.
To create a token, check out this article.
And you’re all set to go!
Contact the Cloudiway Team, we will check if everything is OK.
Want to read more about Cloudiway? View our professional resources, including guides, white papers, and case studies on cloudiway.com